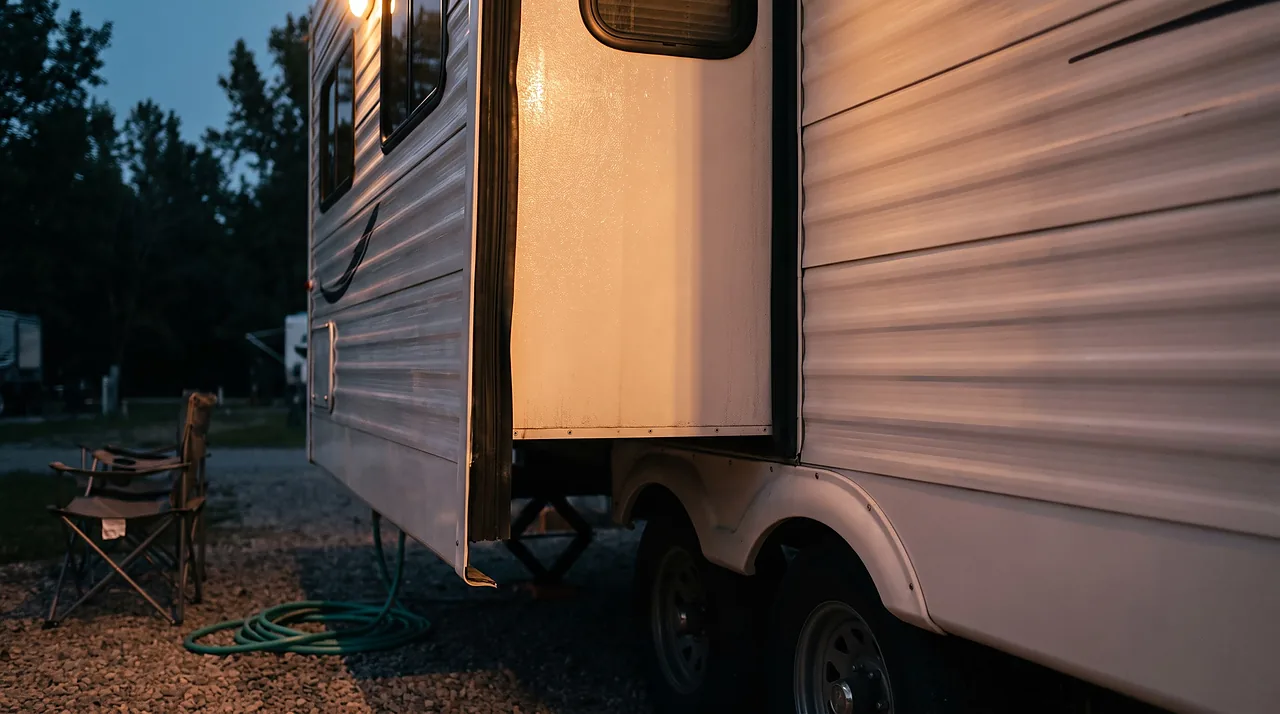
It's 8:40 p.m., checkout is at 11 the next morning, and the slide is sitting half in, half out, with a three-inch gap of exposed felt seal catching the porch light. Somebody's finger is already back on the switch for one more try. That single extra try, held down a beat too long against a motor that has already told you it's stalled, is exactly how a problem that a fuse or a charged battery would have solved turns into a gearbox or motor replacement.
Here is the order that actually protects the room: check the voltage reaching the slide system under load, then read whatever the controller is telling you with its lights or fault codes, then use the documented override procedure for that specific slide system. The motor and its gearbox come last on that list, and forcing them is never one of the steps. Most slides that "won't move" are not broken mechanically at all. They are starved for power, and the controller is doing exactly what it was built to do: refusing to run a motor on juice too thin to move it safely.
Why this is a power problem almost every time
A slide-out motor under load can draw a genuinely large amount of current, and Lippert's own Schwintek controller, the small circuit board that runs most in-wall slide systems, is built to protect that motor from exactly this scenario. It can technically still try to run the room on as little as 8 volts, but the amperage it needs climbs sharply as voltage drops, which is hard on the motor and the wiring both. Lippert's guidance is direct: check the voltage right at the controller, and if it reads under 11 volts, get the battery on a charger before you try again.
That 11-volt line matters because a battery that still sounds fine on the interior lights can already be too weak to swing a slide motor. Lights and a water pump sip current. A slide motor gulps it. So the reading that tells you the truth is the one taken while the system is actually trying to move the room, not the resting voltage you'd check with nothing running.
Before the meter: locks and interlocks
Travel locks, slide bars or pins left in place from the last trip stop a room cold, so look at both ends of the room first. Many motorhomes will not run the slides unless the parking brake is set and, on some, the ignition is in a set position or the engine is running. The room's path must also be clear inside and out, including a dropped strap or a stray item on the floor, as part of routine slide-out care.
Step one: check voltage while the slide is under load
Grab a multimeter and set it to DC volts. Run the coach on battery power alone for this test, since shore power or the generator can mask the real number. Have someone hold the switch to extend or retract while you read voltage at the battery terminals or, better, right at the slide controller if you can reach it safely. Two outcomes:

- Voltage sags hard the moment the switch is pressed (dropping well under 11 volts, or the room stalls a few inches in). That points to a weak or partly discharged battery, a corroded terminal, or a connection loose enough to add resistance right when the load spikes.
- Voltage holds steady and reasonable under load, yet the room still won't budge. That rules out the battery. Move to the controller.
If the battery is the culprit, charge it fully before trying the slide again, and check the coach's 12V fuse panel for a fuse that's already partway to failing, since a fuse that's hot or discolored can add resistance long before it actually blows. A house battery that won't hold a charge at all, or a converter that isn't topping it off between drives, is a separate problem worth running down on its own; that's the territory covered in the piece on a converter that isn't charging the house battery properly.
One line from Lippert's manual is worth repeating exactly, because it gets skipped in a hurry: never jump-start or charge the battery from the power connections on the slide controller itself. Always connect at the battery. Backfeeding voltage through the controller's wiring can damage the board that you're trying to protect.
Step two: let the controller tell you what's wrong
Most in-wall and through-frame slide systems from Lippert use a small circuit board with status LEDs that blink out a fault code when something stops the cycle. On the common Schwintek board, a green LED blinks once for motor one and twice for motor two, so you know which side of the room has the problem, and a red LED blinks a number that maps to a specific fault:

- Code 2: the battery dropped below 6 volts while the motor was running. Charge the battery fully; do not re-try until it holds voltage under load.
- Code 3: voltage was already under 8 volts at the start of the cycle. Same fix as code 2; the system never had enough power to begin with.
- Code 4: voltage over 18 volts, an overcharging fault. Check the converter or charging source; do not force the switch.
- Code 5: excessive motor current, often with one side of the room stalling repeatedly. Stop; this is closer to a mechanical or obstruction issue than pure power.
- Code 6: the motor or motor wiring has shorted. Stop and get it inspected; this points to an electrical short in the motor circuit itself.
- Codes 8 or 9: the position sensor (Hall encoder) has lost signal or shorted to ground. Usually a wiring problem worth having inspected before trying the switch again.
A code doesn't clear itself. Per Lippert's manual, energizing the extend or retract switch once resets the board, and energizing it a second time is what actually tries the move again. That is very different from mashing the switch repeatedly. One deliberate press to reset, one deliberate press to try, then stop and think if it still doesn't move.
If you can't find the controller or don't know where your specific model puts it, that's a five-minute search in the owner's packet that came with the rig before you do anything else, since location varies by floor plan and even by model year.
Step three: use the documented override at the switch
If voltage checks out fine and the controller isn't throwing a fault that points somewhere else, the last resort before calling for service is the manufacturer's own documented override, and it comes in two forms depending on your board's revision.

Electronic override (newer control boards). At the circuit board, press the mode button six times quickly, then press a seventh time and hold it for about 5 seconds. The status LEDs will start flashing, confirming override mode is active. Release the button, go back inside, and use the ordinary wall switch to retract the room. This borrows the same switch the room already has; it just tells the board to accept the command differently.
Manual push-in (no working electronics at all). There is no crank handle on this system. The fallback here is physical disengagement of the motors. Locate the motor retention screw near the top of each vertical column, remove it, and pull the motor up just far enough to disengage it, which releases that side's brake. With both motors disengaged, push or pull the room in by hand, keeping both sides moving evenly together; a large room may genuinely need two or three people. Once the room is fully in, plug both motors back into the control board. That reconnection is what reapplies the parking brake for road travel, and Lippert's manual is blunt about the stakes: never move the coach with the motors unplugged, because nothing is holding the room in place. Follow the override card or manual for your exact model; details vary between model years.
A through-frame or actuator-driven slide (common on larger fifth wheels) follows the same power-first order, but the physical override steps differ by system, so check the owner's manual that shipped with that specific slide before improvising a fix. What doesn't change across systems is the sequence: voltage, then controller, then the documented override, in that order, every time.
One side moves, the other doesn't
On an in-wall system, the green LED blink count tells you which motor faulted, so check that side's wiring connector and confirm that its motor is fully engaged in the rack. A room that comes in crooked or goes out unevenly after the power side checks out is an alignment issue, covered in bringing an uneven slide back into square. Keep running it crooked and the seals and the stalled side take the damage.
The five-minute sequence, in one list
- Voltage at the battery/controller while the switch is pressed. Stop and don't force it if the reading sags well under 11V, or a fuse looks hot or discolored. That tells you the problem is a weak battery, a bad connection, or a fuse close to failing.
- Controller LED pattern (which side, which fault number). Stop and don't force it if you see a repeating fault code, especially 5, 6, 8, or 9. That tells you the system is flagging a specific electrical or mechanical fault beyond simple low power.
- Documented override (electronic sequence, or manual motor disengagement). Stop and don't force it if the room still won't move by hand after both motors are disengaged. That tells you something mechanical is genuinely binding, which is beyond a power fix.
Notice what's missing from that sequence: repeatedly holding the switch, tapping the dash, and leaning on the slide from outside. Those are simply guesses. Guessing at a stalled 12-volt DC motor under load is how a shaft snaps or a gear rack strips.
What this piece isn't covering, on purpose
Two things come up constantly around a stuck slide and deserve their own space rather than a rushed paragraph here. If the room moves but grinds, squeaks, or has felt seals dragging and tearing, that's usually a lubrication or seal issue rather than a power fault, and it's covered properly in the guide to keeping the rails, gears, and seals maintained along with the separate piece on diagnosing and replacing worn slide seals. And if the rig is sitting unevenly, or one or more leveling jacks are acting up, that can physically bind a slide mechanism against its own frame before you ever get to the motor; leveling the coach properly is worth doing before you assume the slide itself is at fault.
Frequently asked questions
Is it safe to jump-start the battery just to get the slide in?
It can work, and it's worth trying if voltage under load is genuinely low, but treat a jump as a diagnostic test more than a permanent fix. If the room comes in fine on jumped power, the underlying problem really was a weak battery, so get it fully charged or replaced before relying on it again. If the room still stalls or the fault code repeats even with a jump box pushing fresh voltage in, the jump has ruled out the battery as the problem. At that point, check the controller's fault code next; a second jump attempt won't help.
Why does only one side of my slide move?
In-wall systems like Schwintek run each side of the room off its own motor. If one side moves a short distance and stops while the other doesn't move at all, that's often a stalled motor on the non-moving side rather than a shared power problem. Per Lippert's troubleshooting guidance, try pressing the switch while someone gently helps push the stalled side in the same direction, and if that side moves several inches by hand while its motor is still connected to the control board, that specifically indicates a broken motor shaft on that side rather than a wiring or battery issue.
Can I keep pressing the switch if the room stops partway?
Release it first, check voltage under load, and read the controller's LED pattern before touching the switch again. Beyond the mechanical risk, repeated presses can also blow the 30-amp fuse each time the motor draws a current spike while stalling, which just adds a fuse-replacement cycle on top of whatever caused the stall in the first place, and masks the real problem behind a fresh fuse that will blow again on the next attempt.
My slide has a physical crank handle. Does this sequence still apply?
Yes, check power and the controller first regardless of override style. Crank-handle systems are typically used on rack-and-pinion or cable-driven through-frame slides rather than in-wall systems, and the crank exists for a fully de-energized, deliberate retraction. Run through the voltage and controller checks first even on a crank-handle system; forcing a crank against a motor that's fighting an electrical fault causes the same kind of mechanical damage as forcing a switch.
Read next
Keep going on this system
Sources
What this guide is based on
- Lippert Components, Inc. - Schwintek In-Wall Slideout System Owner's Manual
- Lippert Components, Inc. - Through-Frame Electric Slide-Out Owner's Manual
Built from manufacturer manuals and published specifications. If something here does not match your appliance label or manual, the label and manual win.