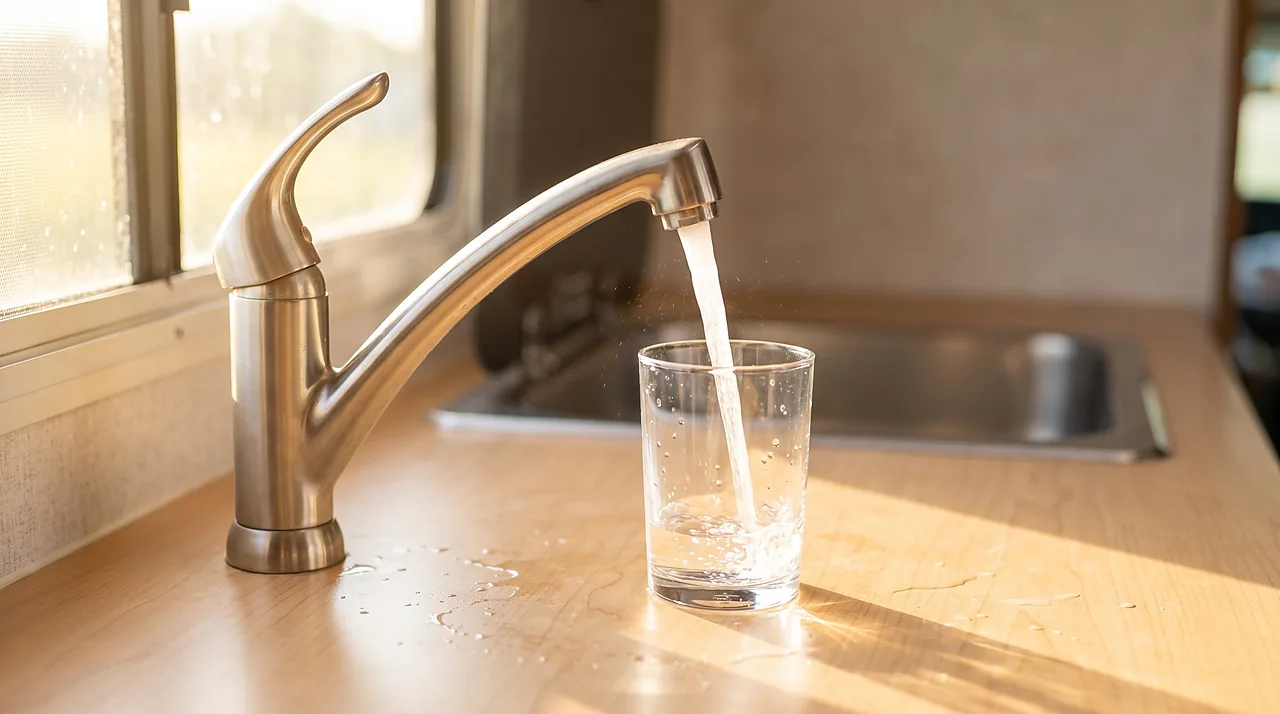
You hook up to city water, prime the pump, and pour the first cup of coffee of the season, and it tastes like a swimming pool. Sometimes worse. That flavor is leftover propylene glycol antifreeze doing exactly what it was put there to do: sit in every line, valve, and low point all winter so nothing splits when the temperature drops. Getting it fully out, and confirming what is left behind is actually safe to drink, comes down to three steps done in the right order. Flush the antifreeze completely. Sanitize the tank and lines at a dose you can actually measure. Pressure-check the whole system before you rely on it for a season of real use. Most owners can finish all three in one afternoon, working around whatever else is on the spring checklist.
Step 1: flush every trace of antifreeze out first
Sanitizing before the antifreeze is gone just dilutes glycol through your bleach solution and back into the lines, so flushing comes first, always. Fill the fresh tank with real potable water and run the pump. Open every fixture, hot and cold, indoor shower, outdoor shower if you have one, the toilet's water valve, and the low point drains if your rig uses them, until the water runs clear at each one and the smell is gone. Let the RV antifreeze that runs out of the faucets go down the drains into the grey and black tanks and empty them at a dump station; open low-point drains over a bucket rather than onto the ground. Expect to refill the tank more than once before the taste fully disappears from a system that sat all winter; one pass rarely clears every branch line.

If your water heater has a bypass valve, leave it in the bypass position through this whole first flush. That keeps antifreeze from being pulled into the tank you are about to fill with drinking water, and it matters more than most people expect: the same bypass valve you used going into winterizing is the one you now reverse coming out of it. Suburban's own service literature is direct about why the sequence matters, noting that a bypass kit should keep the water heater "closed off (out of the system) in the bypass position particularly if you are introducing antifreeze into the plumbing system," because antifreeze left sitting against the tank's anode rod accelerates corrosion and leaves sediment behind.
On a Suburban steel-tank water heater, that anode rod is not optional hardware. Steel tanks need the sacrificial anode to keep them from corroding from the inside out, and if you pulled it and capped the port with a plug for winter storage, this is the point to think about reinstalling it, though the full water-heater re-commissioning sequence (filling the tank, purging air, checking for leaks at the anode fitting, relighting the burner) is its own job with its own failure points and deserves its own careful pass; see what to check if the water heater won't fire back up once you get there. One mix-up worth flagging now: Atwood and Dometic aluminum-tank water heaters do not use an anode rod at all, so if you are used to one brand and switched rigs, do not go looking for a part that was never there.
Step 2: sanitize at a dose you can actually verify
A visual flush gets rid of taste and color, not necessarily bacteria that grew in stagnant water over months of storage. The dose commonly taught across RV owner's manuals for a routine sanitizing pass is about 1/4 cup (2 fluid ounces) of plain, unscented household bleach for every 15 gallons of fresh-water tank capacity, mixed into a gallon or so of water before it goes in, then topped off with potable water and run through every fixture until you smell chlorine at each one. Cap it, let it sit, then drain and flush with fresh water again, repeating the flush until the chlorine smell is gone.

How long it needs to sit is the part people rush. A minimum of about 4 hours of contact time is the usual floor, with 8 to 12 hours, essentially overnight, doing a more thorough job against anything that took hold over winter. That is a different job, and a different dose, from the one Suburban documents for an already-smelly water heater tank: their manual calls for roughly six ounces of bleach per 10 gallons specifically to shock-kill established sulfur-odor bacteria in the tank, a notably stronger mix than the routine spring dose above, because it is treating a known problem rather than starting clean. Do not average the two figures together; use the lighter routine dose for a normal spring wake-up, and only reach for a heavier shock dose if you actually have a persistent rotten-egg smell to clear.
Bleach only works because dose and time work together. The EPA's own emergency drinking-water guidance runs a much lighter dose, "8 drops of 6% bleach, or 6 drops of 8.25% bleach, to each gallon of water," followed by "30 minutes" of standing time and a check for "a slight chlorine odor." That figure is scoped to treating water you intend to drink immediately in an emergency. It still illustrates the same underlying principle: enough chlorine, held for enough time, is what actually disinfects. Skipping either half shortchanges the result.
Three steps to get your sanitizing dose right
- Find your tank's rated capacity. It is usually stamped on the tank itself or listed in your owner's manual. Fresh-water tanks commonly run anywhere from around 24 gallons on a smaller trailer up to 84 gallons or more on a larger motorhome.
- Calculate the dose from the 1/4-cup-per-15-gallon ratio. Multiply your tank's gallons by 2, then divide by 15, and that is your dose in fluid ounces of plain bleach. A 24-gallon tank works out to about 3 fl oz (a bit under 1/2 cup). A 36-gallon tank takes about 5 fl oz (about 5/8 cup). A 47-gallon tank takes about 6 fl oz (about 3/4 cup). A 62-gallon tank takes about 8 fl oz (1 cup). An 84-gallon tank takes about 11 fl oz (roughly 1 1/3 cups). Use plain bleach with no added scent, thickeners, or splash-less formulation, since those additives are not meant to sit in a drinking-water system.
- Mix it, run it through, and hold the contact time. Dilute the measured bleach into a gallon or so of water first, add it to the tank, top off with potable water, and run it through every fixture until you smell chlorine at each one. Then let it stand for a minimum of about 4 hours, with 8 to 12 hours (essentially overnight) doing a more thorough job against anything that took hold over winter.
Step 3: pressure-check before you trust the system
Once the sanitizing solution is flushed out and the water runs clean with no chlorine smell, put the water heater's bypass valve back to normal operating position. Reinstall the anode rod if you pulled it; a wrap of Teflon-style pipe thread sealant on the threads prevents a weep at that fitting without blocking the anode's protection. Fill the tank completely before running the burner or element. Operating a water heater without water in the tank can damage it. Tankless water heaters skip the bypass-and-fill routine of a tank heater and have their own restart steps in the manufacturer's manual, so follow that for the heater itself. Then connect to city water through a pressure regulator rather than straight off the spigot. Regulate incoming pressure to roughly 40 to 50 psi; RV plumbing is generally built to handle less than a typical municipal supply can put out, and an unregulated pressure spike at a campground riser is a common, entirely avoidable way to blow a fitting or crack a low-point drain you just finished flushing.

While the system is pressurized, walk the whole rig and inspect every visible fitting closely, since a slow weep often shows itself to the eye well before it can be heard. Check under sinks, behind the toilet, and at the water heater connections, since a joint that dried out over winter sometimes needs a season of use before you can tell it is seeping. Run the pump on tank water for a few minutes too, separate from the city-water test, and confirm the pressure switch cycles the way it always has rather than short-cycling or running continuously, which usually points to a system-wide issue worth chasing down before you leave the driveway.
Beyond the water system: the rest of the spring startup
- Reinstall or charge the house battery and check the converter is charging, or troubleshoot a battery that won't hold a charge.
- Open the propane, check for leaks with soapy water at fittings across the propane system, and test the LP, CO and smoke detectors.
- Check tire pressure cold and inspect the sidewalls.
- Walk the roof and look at every bead of roof sealant.
- Run the slides and awning once.
See the RV maintenance checklist for the full spring list.
What still catches people out
The most common miss is not reversing the water heater bypass valve after flushing. Skip that step and hot water keeps tasting like antifreeze indefinitely, even though cold water runs clean, because the hot side was never actually flushed through the tank. The second is forgetting the anode-rod drain plug on a steel tank; leave that plug in place with the anode still out, then fill and pressurize the system, and you will find out about it through a very wet cabinet. The third, and the one worth a flat warning: RV and marine antifreeze is propylene glycol, a low-hazard formulation with a minimal health rating under normal handling. Automotive antifreeze, the kind sold for engine cooling systems, is typically ethylene glycol, which is genuinely toxic and has no place anywhere near a potable water system. If a jug in the garage is not clearly labeled for RV or marine use, do not use it here.
A faint chlorine smell right after sanitizing is normal and fades with another flush cycle or two. It simply means you are not quite done flushing yet. If the pink or plastic taste itself lingers well after both the flush and the sanitizing steps, check for an unflushed branch line, an overlooked outdoor shower or ice-maker line, or a water heater that never came off bypass. Those three spots account for nearly every lingering-taste complaint.
Questions
What owners ask next
Is it dangerous to drink water that still tastes faintly like antifreeze after flushing?
A faint aftertaste from residual propylene glycol is unpleasant but not the acute hazard automotive ethylene glycol antifreeze would be; RV-labeled antifreeze carries a minimal health rating under normal use. Still, keep flushing until the taste and smell are gone before drinking it regularly, and never use non-RV automotive antifreeze in a potable system.
What happens if I cut the bleach contact time short, and how do I know it actually worked?
Skipping contact time is the most common reason a sanitizing pass fails to clear odor or a stale taste, since the chlorine needs sustained exposure to actually work through the tank and lines, not just pass through them. You will know the sanitizing worked when water from every fixture runs completely odorless after the final flush cycle, with no chlorine smell and no musty or stale note underneath it. A lingering musty or plastic taste after a full cycle means repeating the dose with a longer soak, rather than adding extra bleach to the same batch.
Do I need to sanitize the fresh water system every single spring?
If the system sat drained or filled with antifreeze all winter with no use, yes, a routine sanitizing pass is standard practice before the first trip. If you used the RV through the off-season with fresh water cycling regularly, a lighter flush may be enough, though sanitizing is still cheap insurance.
Can I use pool shock or scented bleach instead of plain household bleach?
Stick to plain, unscented household bleach with no added thickeners or fragrance. Pool shock and scented formulas are not intended for potable-water contact and can leave residues or chemicals that a simple flush was never designed to clear.
Can I dewinterize at a campground?
Yes, if the site has potable water and you can send the flushed antifreeze into your holding tanks and dump it at the station; bring the bleach, a measuring cup and a regulator, and plan the sanitizing soak for an evening so the rig sits overnight.
Read next
Keep going on this system
Sources
What this guide is based on
- Suburban (an Airxcel Brand), Tank Water Heaters Operation & Maintenance Guide
- US Environmental Protection Agency, Emergency Disinfection of Drinking Water
- Chemical Specialties, Inc., Material Safety Data Sheet for Winter Care RV Antifreeze
Built from manufacturer manuals and published specifications. If something here does not match your appliance label or manual, the label and manual win.